I’ve often been asked to share a few of my teaching techniques. So here goes:
 I have taught the following class many times. I have taught it to single students and to classes of 30 students. I have taught it to primary school children, degree students, girls at a pottery hen party and corporate team building events. If you teach ceramics then this is a really good class to have up your sleeve. It works at all levels of skill. It lasts from anything from 1.5 hours to 3 hours depending upon how you demonstrate it and the students’ level. Here is what you need:
Resources
Stoneware buff clay and a small amount of terracotta and white stoneware – Any contrasting clays work. If you haven’t got three types of clay then two types of clay will be fine. You can even create more unusual colours by adding 10 percent body stain to a white clay.
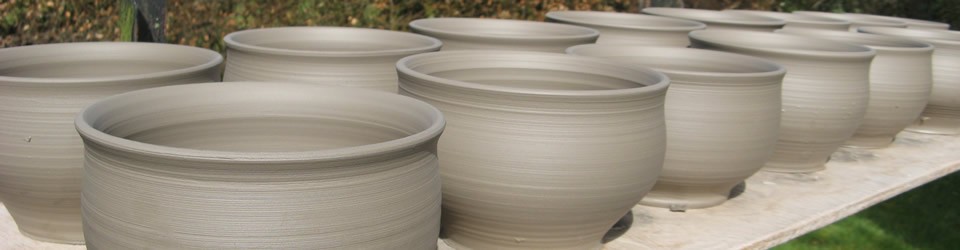
Press moulds – I always tend to use biscuit fired bowls as opposed to plaster moulds, as they store better, they are light (you can easily carry a box of 20) and there is no danger of plaster contamination. If you can’t throw then it is worth learning how to throw to make your own bowl moulds! The mould featured in this article was thrown from 1.5 lbs of clay.
Clay guns – Clay guns are basically small clay extruders. If you don’t have a clay gun then I have used hypodermic syringes in the past without the needle and a bigger hole drilled into the end.
Knives – Ideally potters’ knives.
Tile cutting tool – Okay you don’t actually need this, but I love gadgets!
Rolling pins and cloths – You could use slats as well if you want an even thickness.
Grog – Grog is just fired clay grit, which is good for texture. You can manage without it, but I like to have it
Rulers and pencils and paper – For doing the initial design work
Kidney tools – For smoothing.
The Class
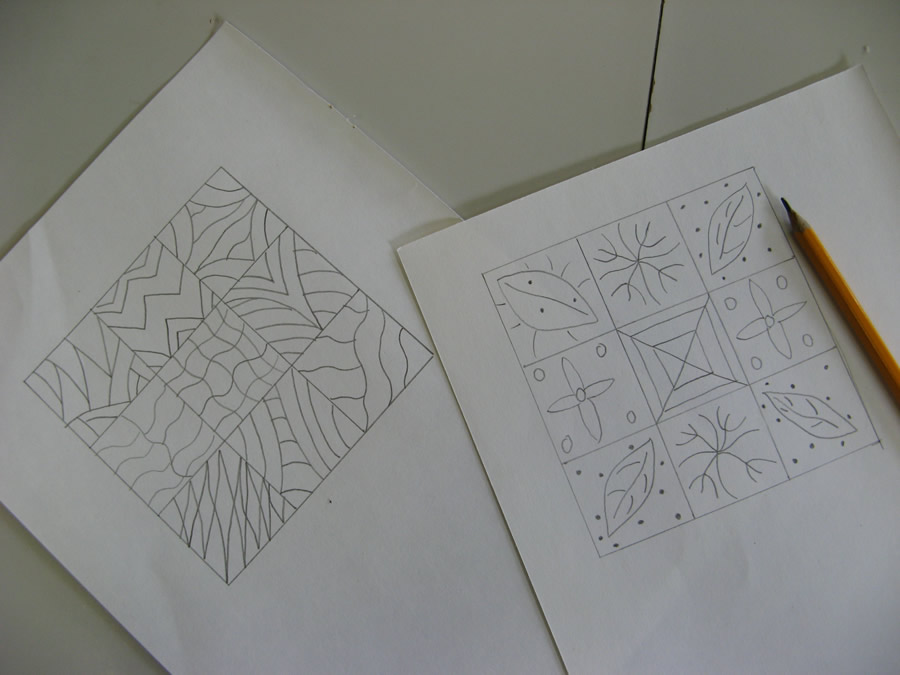
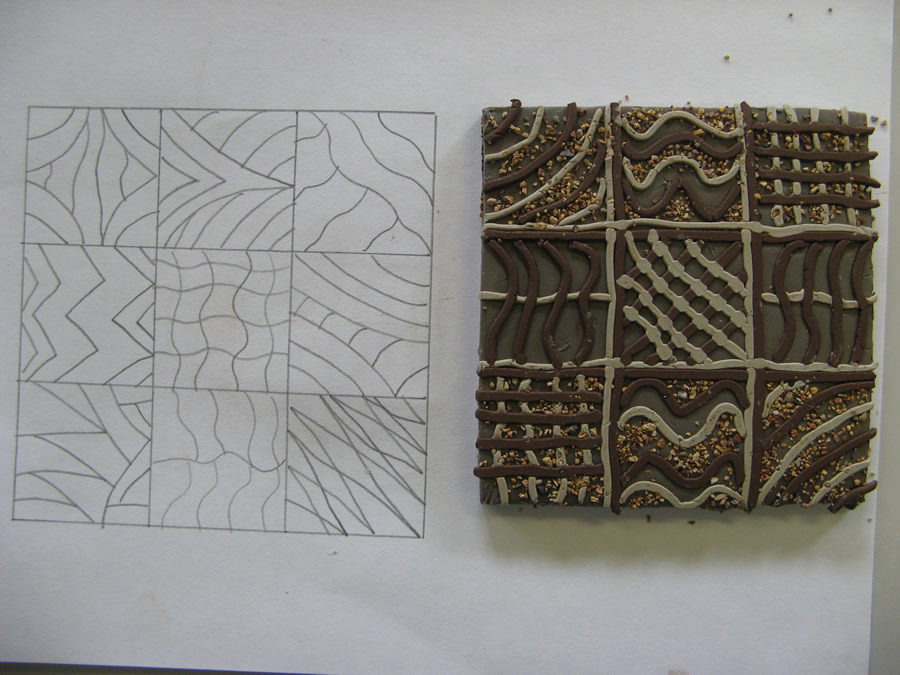
- Begin by getting the students to draw a 12cm square on a piece of paper and then get them to sub-divide the square into 9 smaller squares. In each smaller square get the students to do some simple line drawing. Don’t spend too much time doing this. It is really just to get the students some ideas to begin with. Here are a couple of examples:
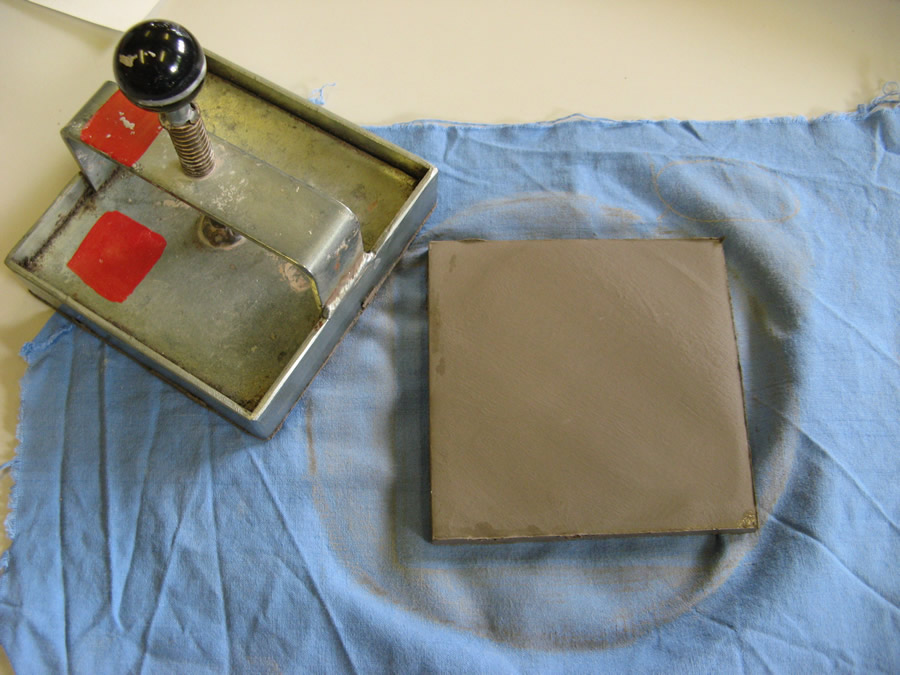
 2. Next get the students to roll out a small ball of clay and cut it either with a knife or a tile cutter into a square (tile sized).
 3. Fill the clay guns, one with terracotta and one with white stoneware and get the students to reproduce their design by laying the clay gun extrusions onto the tile. Don’t press the extrusions into the tile! I also get the students to add grog into parts of their decoration to add texture. You can just pick up the grog between your finger and thumb and drop it where you want it.
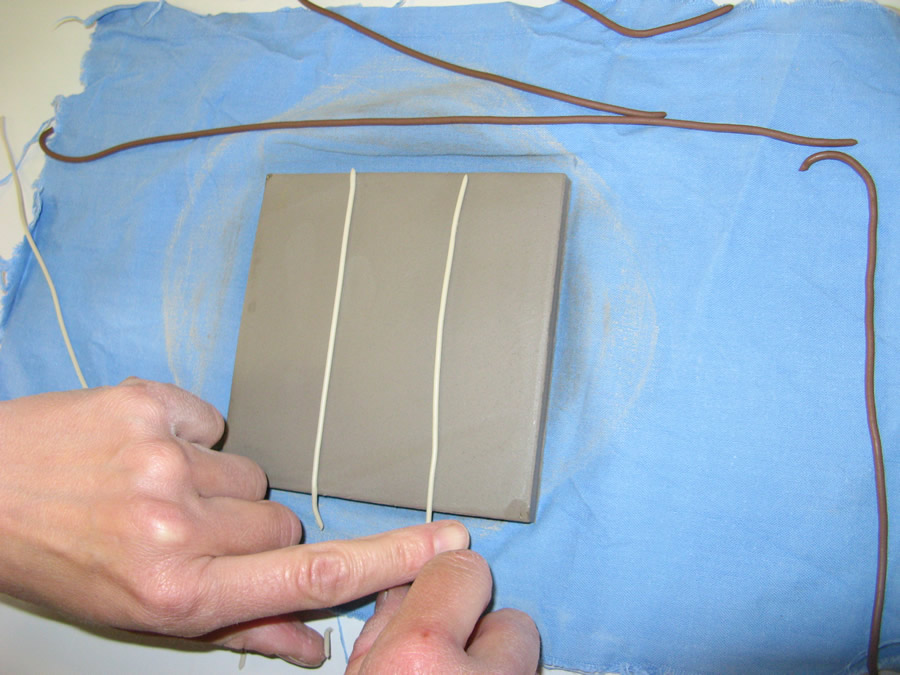
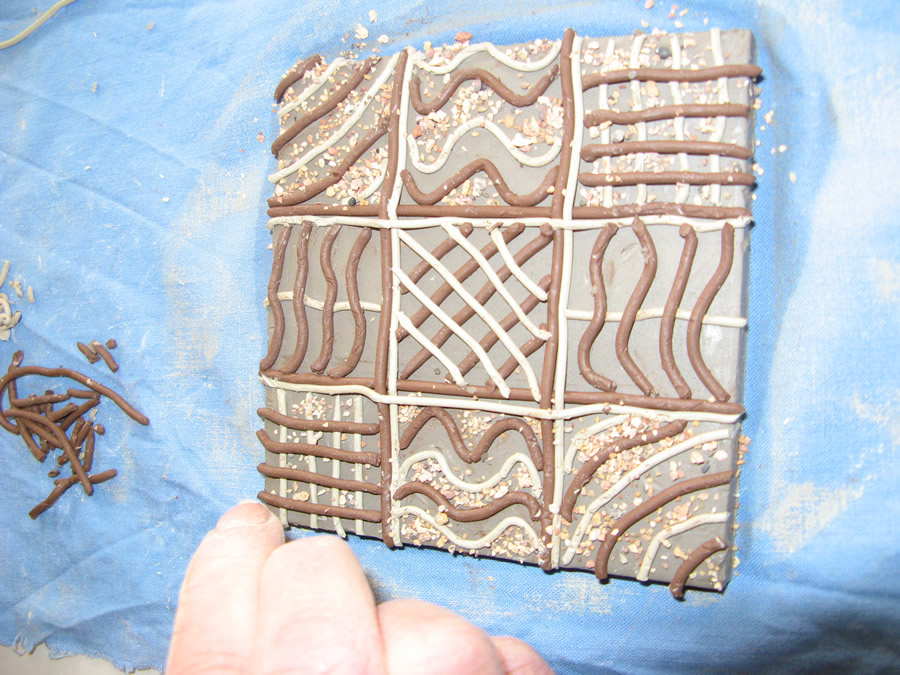
4.Now get the students to place a piece of paper over their tiles and lightly roll over the paper with the rolling pin, so that the extrusions inlay into the tile. Make sure the students don’t press too hard as you don’t want a massive tile, you just want to press down hard enough to inlay the extrusions.
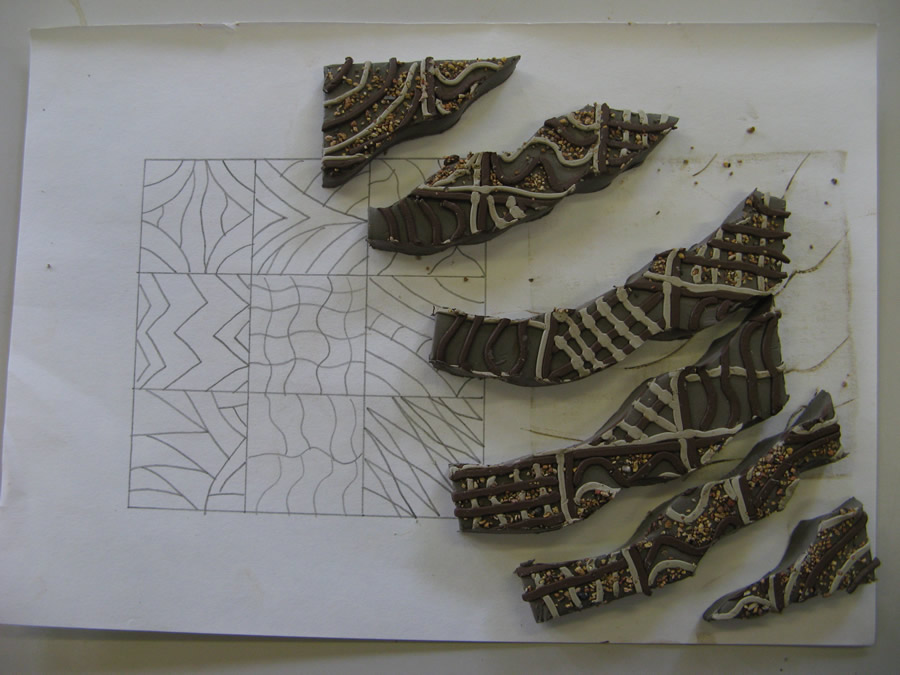
5. Now get the students to cut their tile in 6 to 9 pieces. If they complain about this then tell them that you want to make the design more abstract. If they still persist in complaining then allow them to cut the tile into 9 squares, so that they keep all their decoration intact!
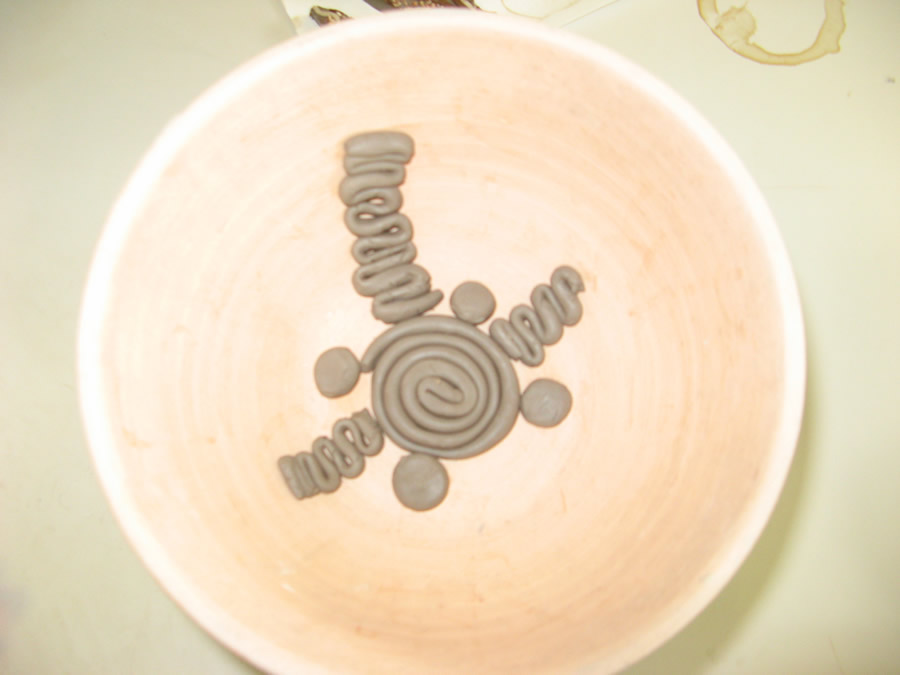
6. Take a press mould and get the students to begin filling it with hand rolled coils of clay and balls of clay, lightly pressing the pieces together. Start from the base of the bowl and slowly get them to work their way up. Make sure they are creative with the coils. Show them how to make spirals and zig zags.
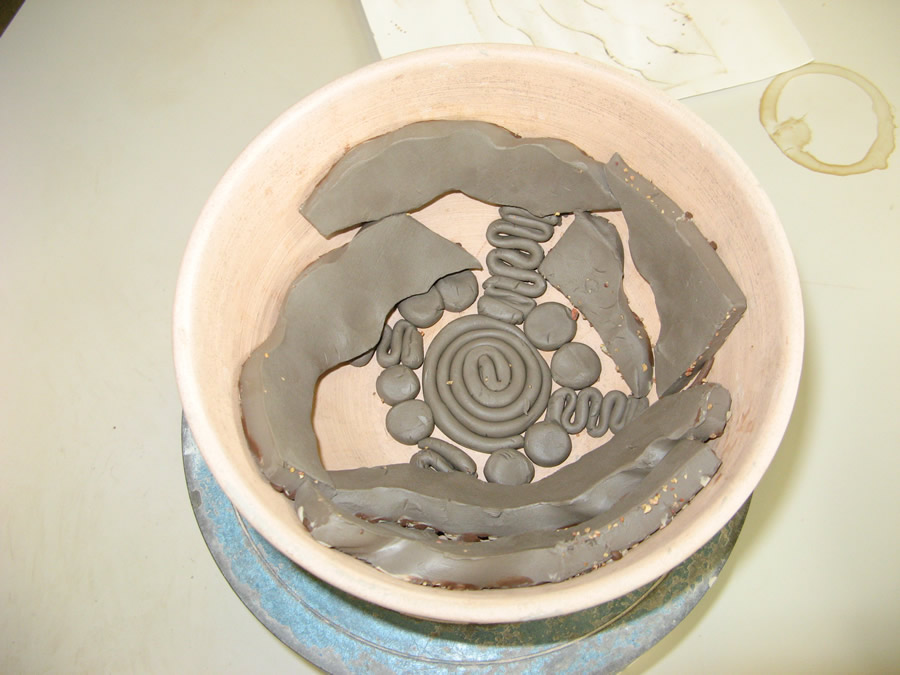
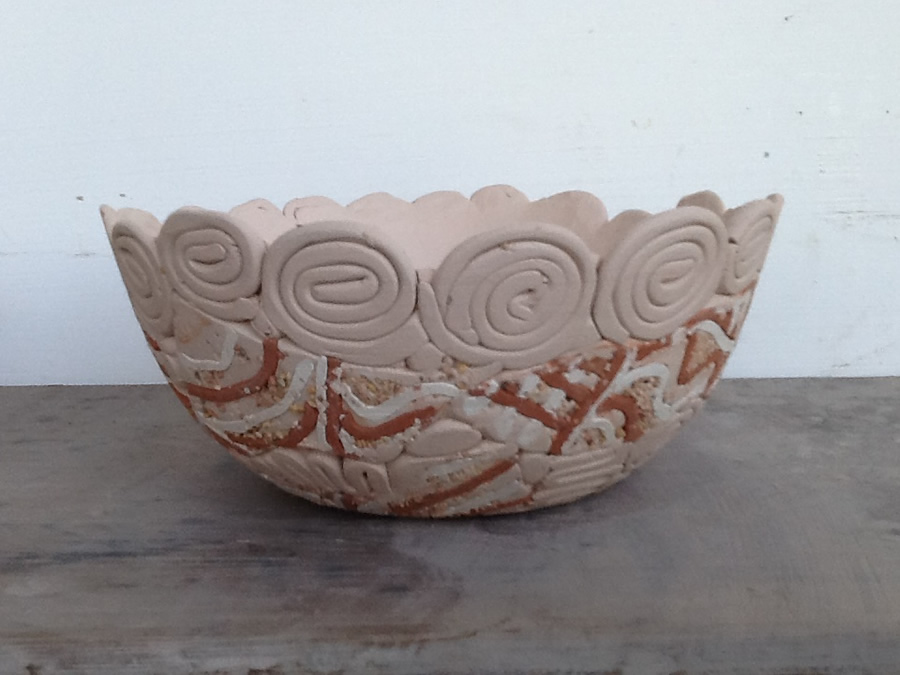
7. Next get the students to start adding their bits of tile with the decoration facing outwards.
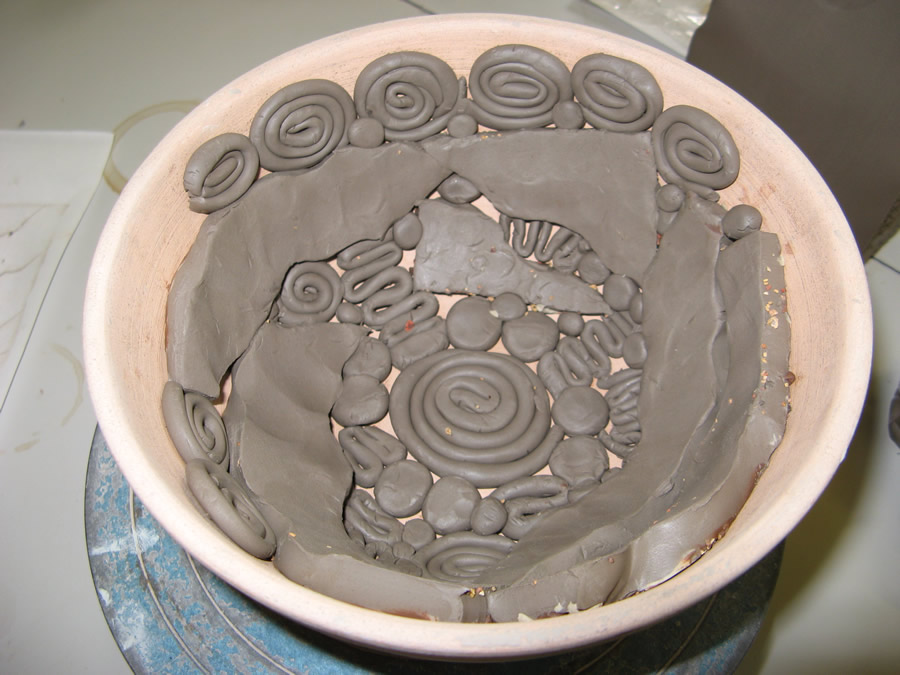
 8. Encourage the students to produce an attractive rim. A series of balls or spirals seems to work well.
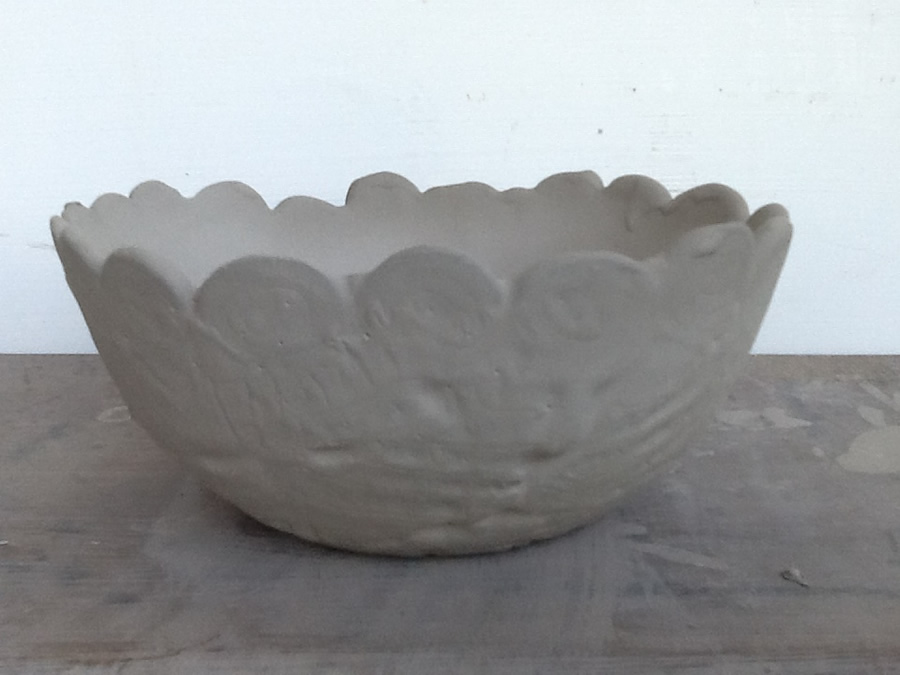
 9. Now smooth over everything with a kidney tool.
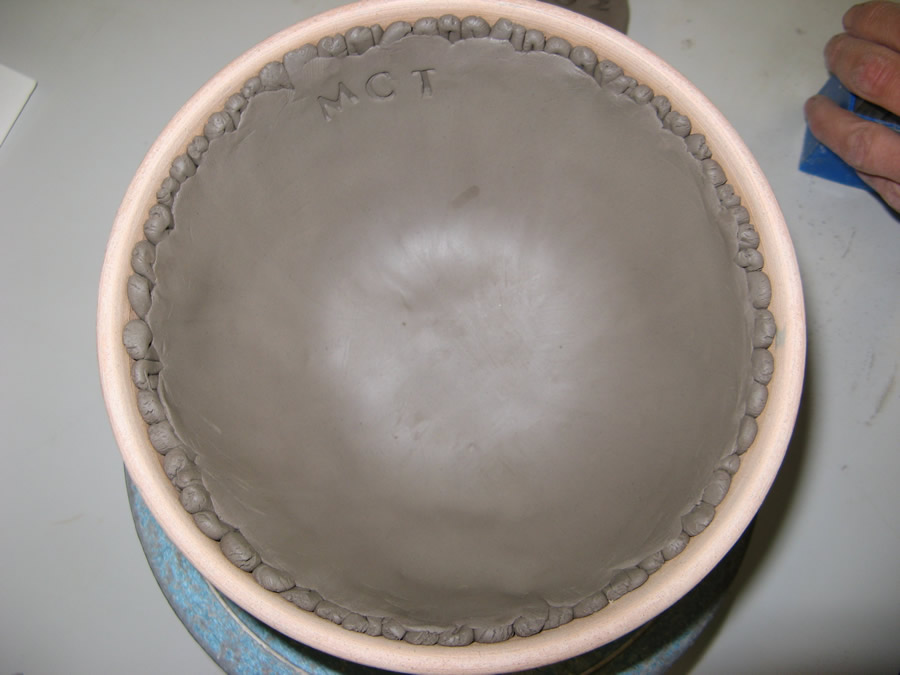 10. Empty the bowl out of the press mould by turning the mould upside down and catching the bowl in your hand.
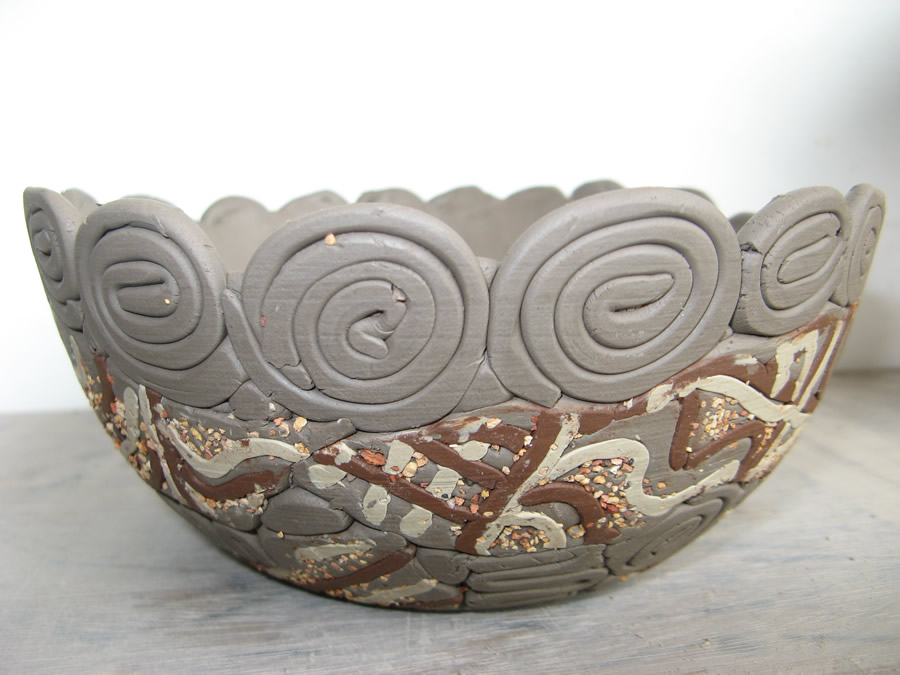
11. Biscuit fire the bowl.
12. Cover the whole bowl with glaze. In this case i’m using blue.
12. Wipe the glaze off the outside using a large sponge.
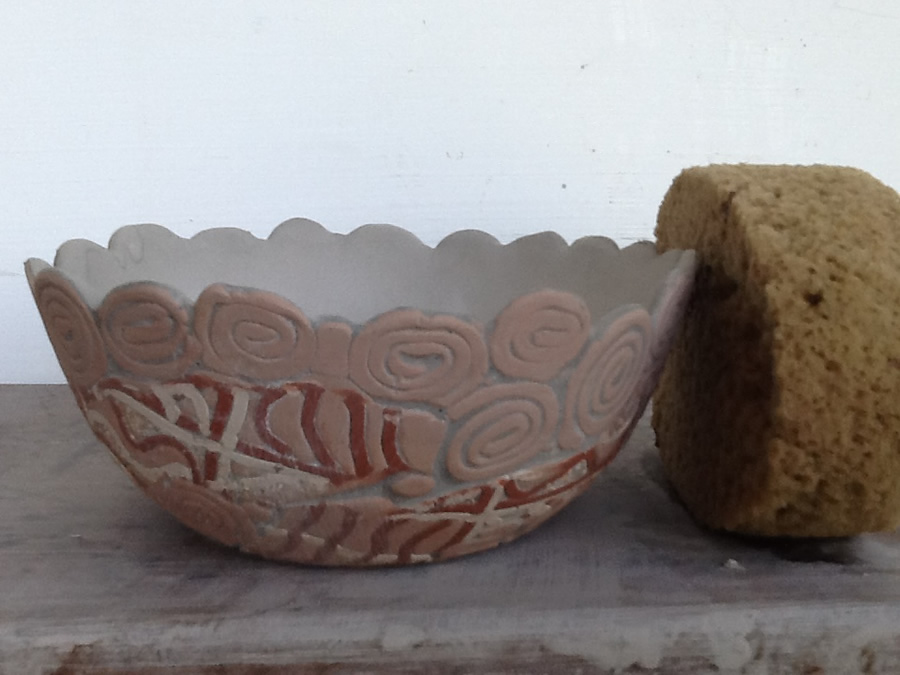
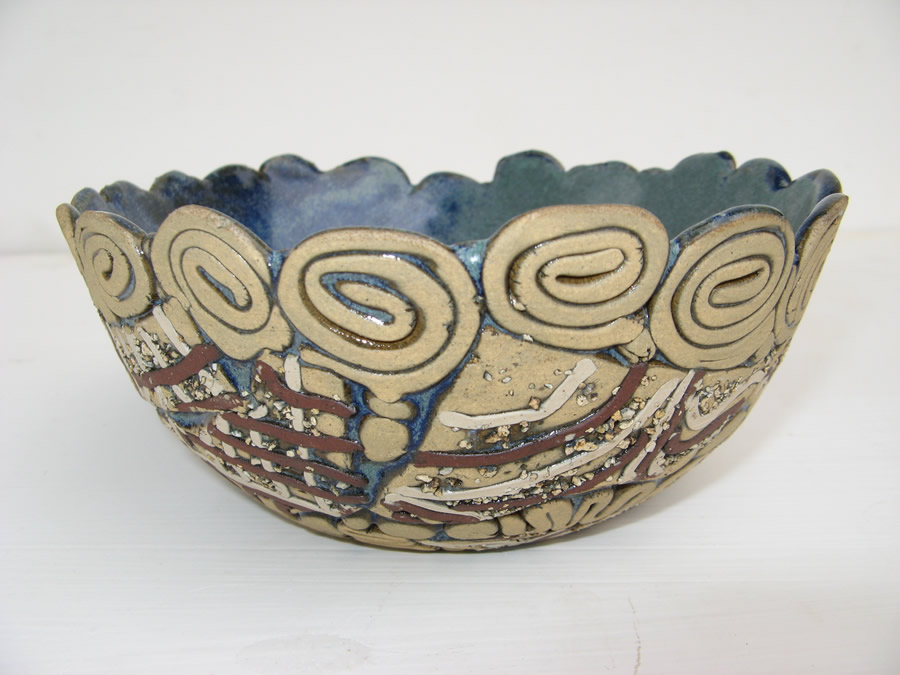
13. Fire the pot. Here is the finished result.
Pingback: Clay Blog Review: July 2013 | Pottery Making Blog